Installation
Galette installation is a web based process (once preparation steps are done). Go to http://localhost/galette. Update process is documented separately.
You should rely on latest stable release, but it is also possible (if your know what you are doing, this is more complex for non developers!) grab it from source code
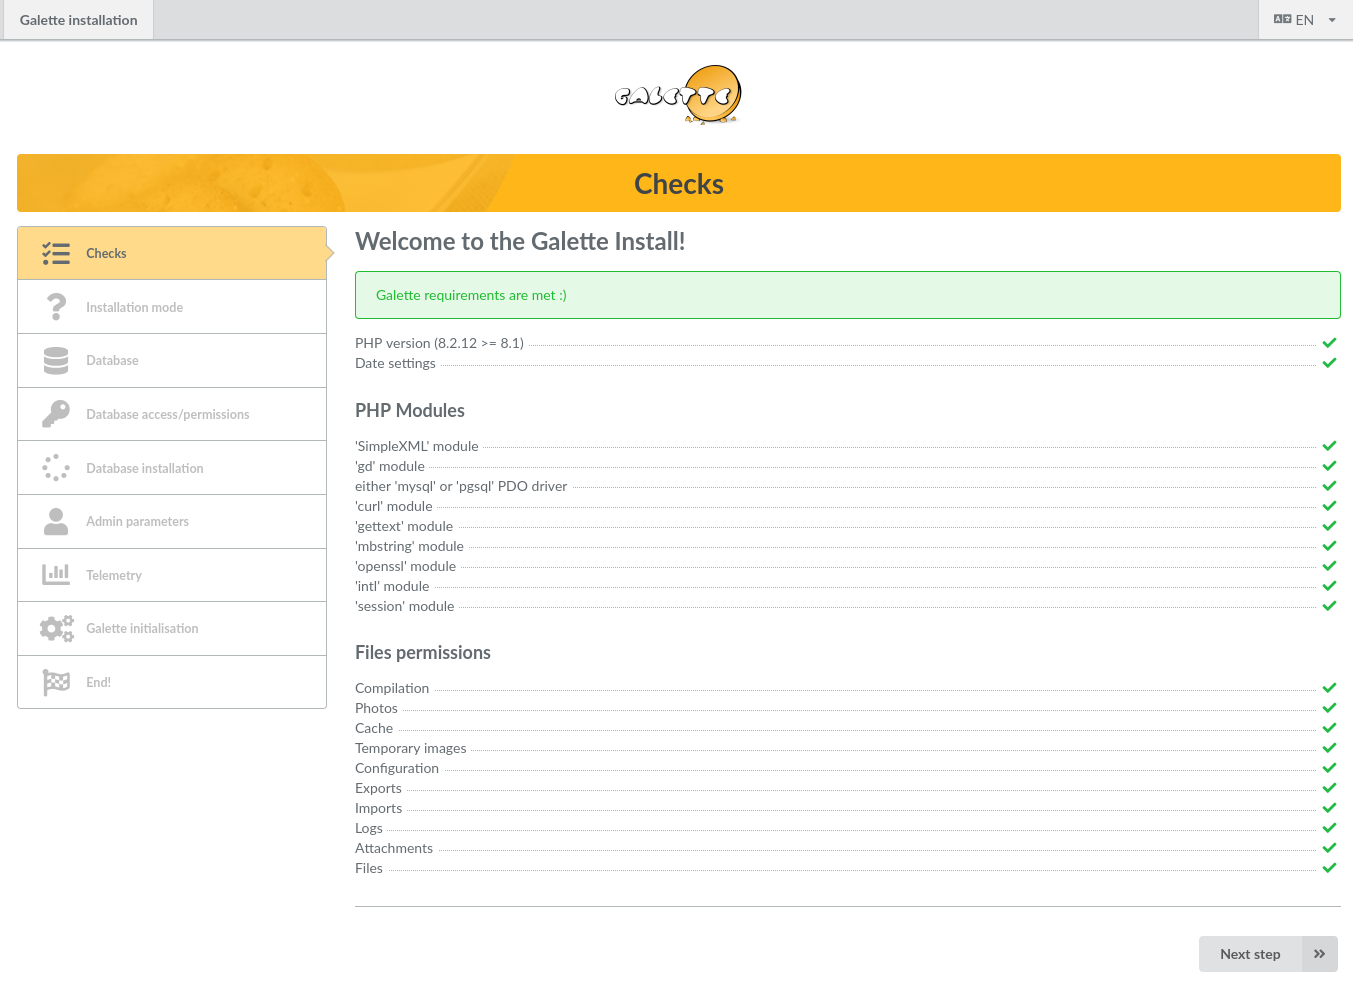
Checks
Please check the following if you want Galette to install without problems:
your PHP version is high enough,
PHP timezone is set (required since PHP 5.3),
all required PHP extensions are installed and loaded,
some directories requires write access.
If one of the mandatory extensions is missing or if the timezone is not set, please ask you system administrator. Galette does not require any “exotic” extension.
The very first installation step will check those points, and will warn you if something gets wrong.
If all the installation steps has been properly followed, directories ACLs should be correct, please refer to files ACLs section and refresh page in your browser.
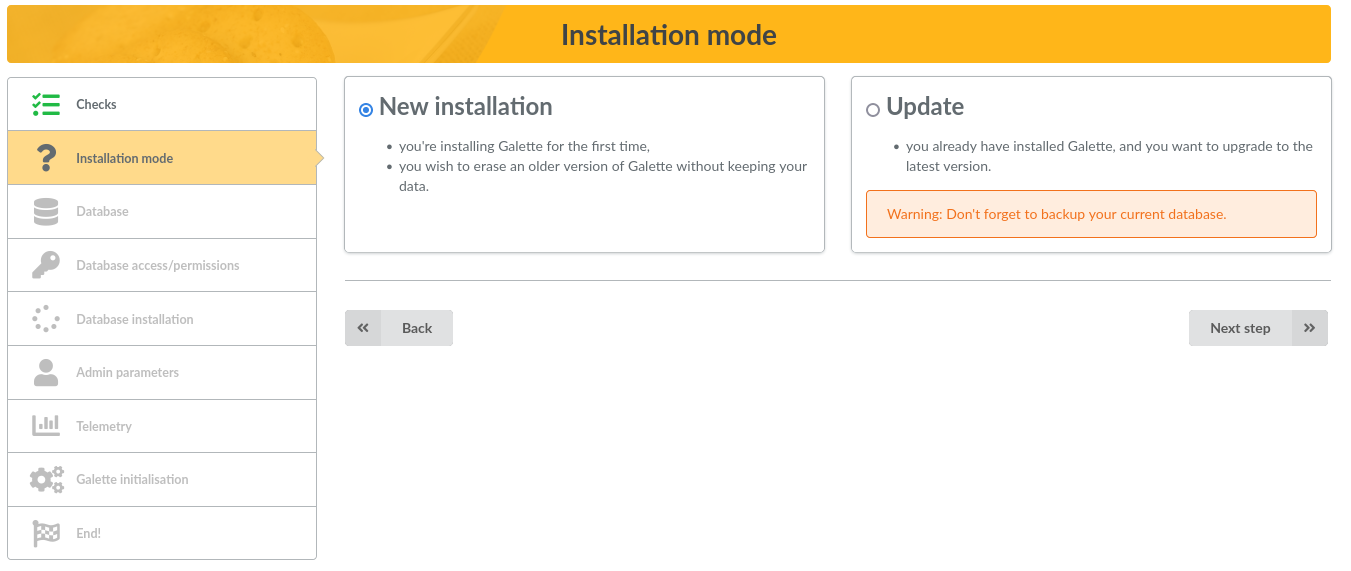
Installation type
Next screen ask you for installation type. You’ll choose between “New installation” or “Update”. Several of the steps that will follow will be specific to the type you will choose here.
Database
First of all, make sure the database exists, and prepare all required information:
host name
database user name
database user password
database name
database type (MariaDB/MySQL or PostgreSQL)
Database parameters
On that screen, select your database type, and enter hostname, database name, user name and password. Tables prefix is usefull if you do not have a Galette dedicated database, default proposal should be ok but you can choose what you want :)
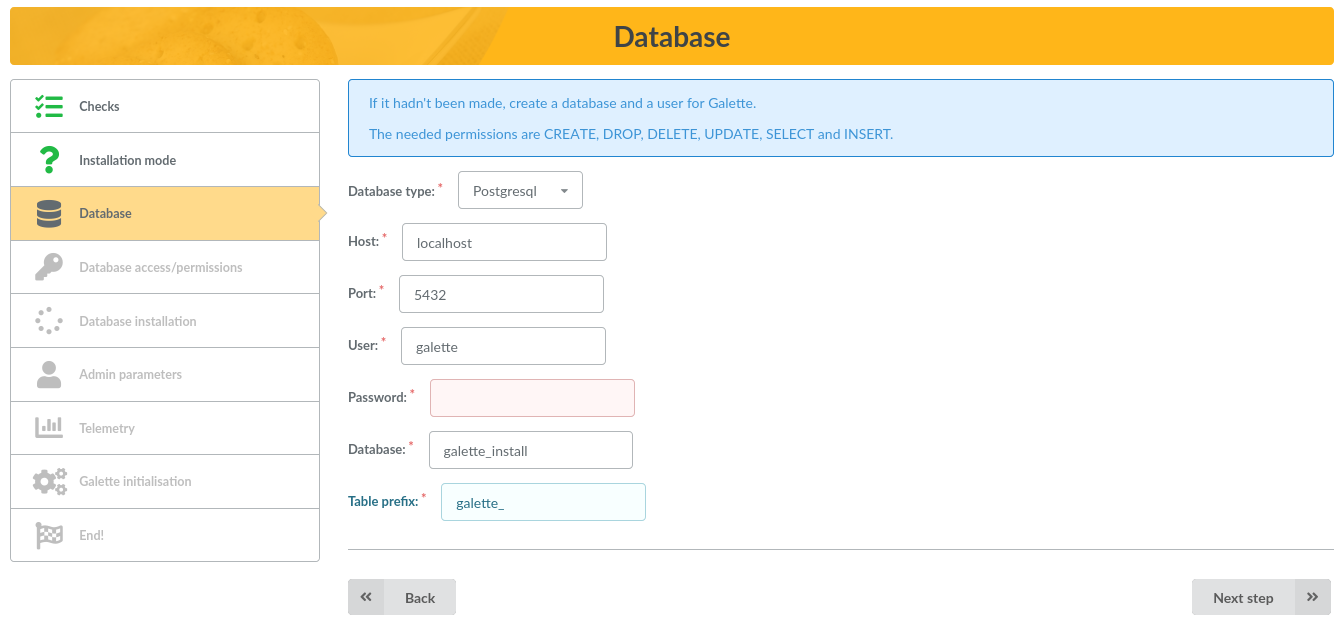
This step is the same for installation and update processes. If a configuration file already exists, Galette will grab the information to pre fill the form (not for the password). When upgrading, double check the prefix fit the existing one.
Checks
Next screen will try to connect to the database using provided elements, than it will check database rights are correct (user can add/remove/alter tables, and can add/remove/edit rows, …).
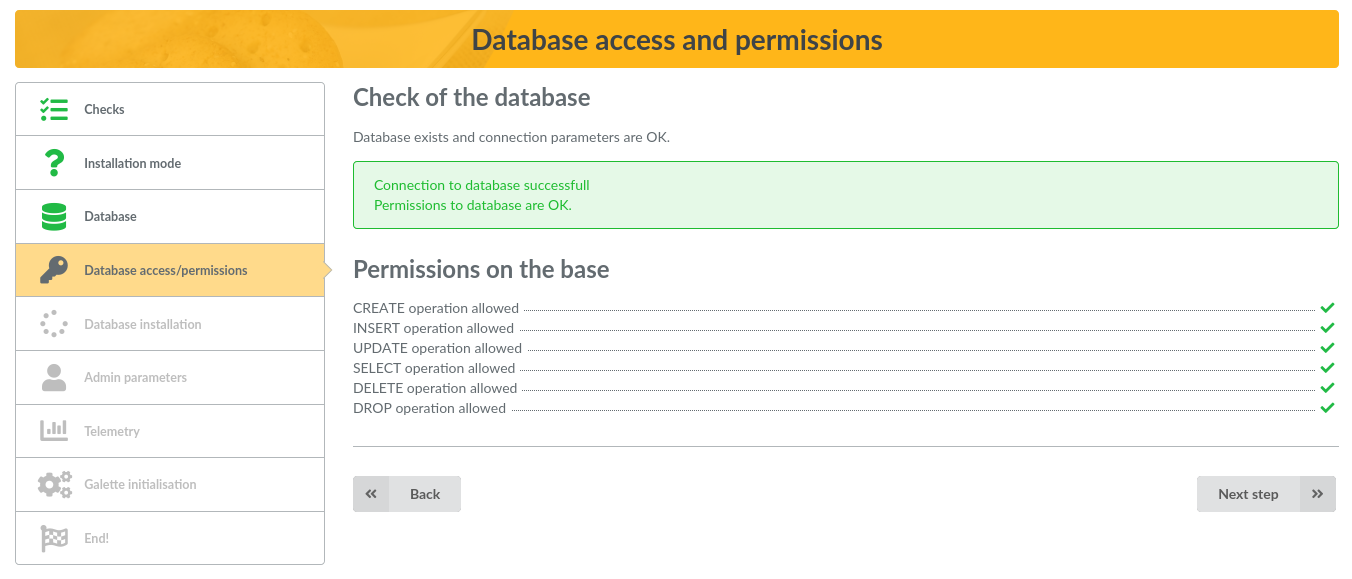
If there is a connexion error, go back to previous step, fix your setup and try again. If you see rights issues, get them fixed on your server and use the “Refresh” button.
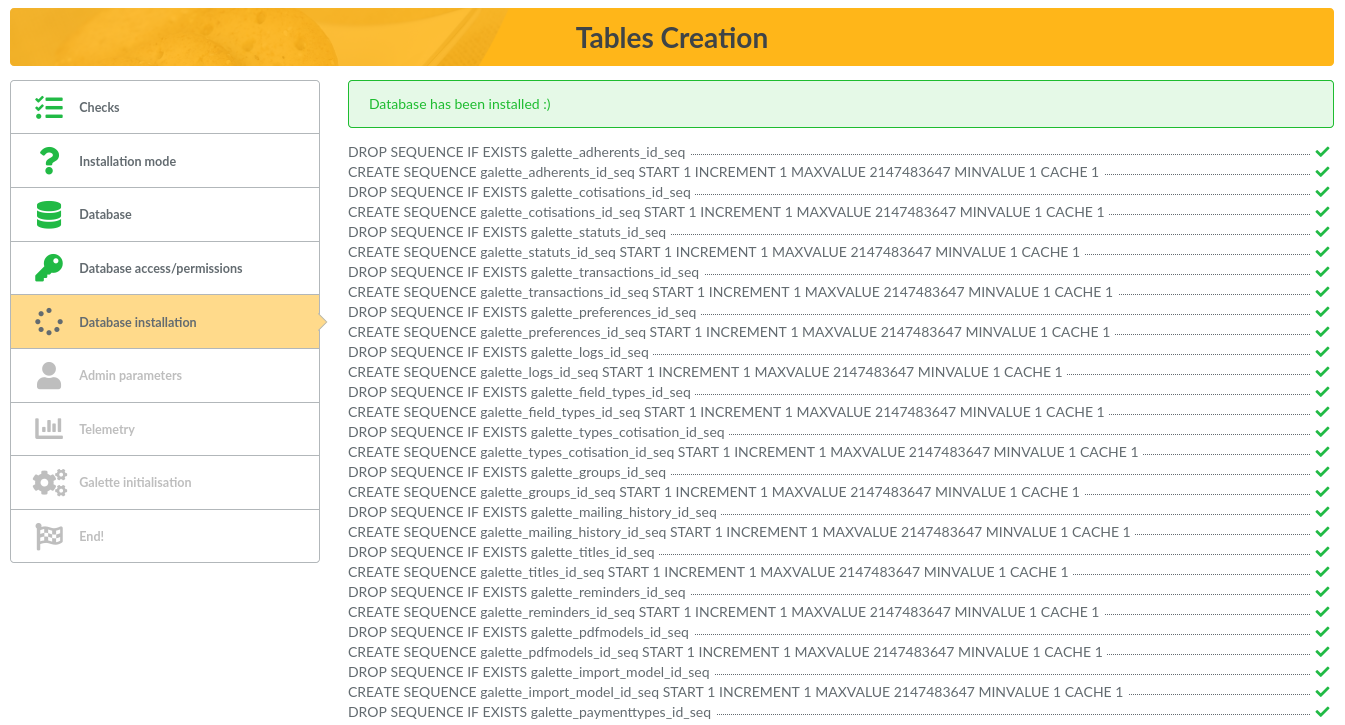
Create tables
Note
Those instructions are only for installation. When updating, a database already exists.
If a connection can be established to the database, and all is correct; installer will now create the tables, and insert default values. You can show created tables from any graphical tool or in command line:
MariaDB:
mysql> use mygalette;
mysql> show tables;
PostgreSQL:
postgres=# \c mygalette
postgres=# \dt
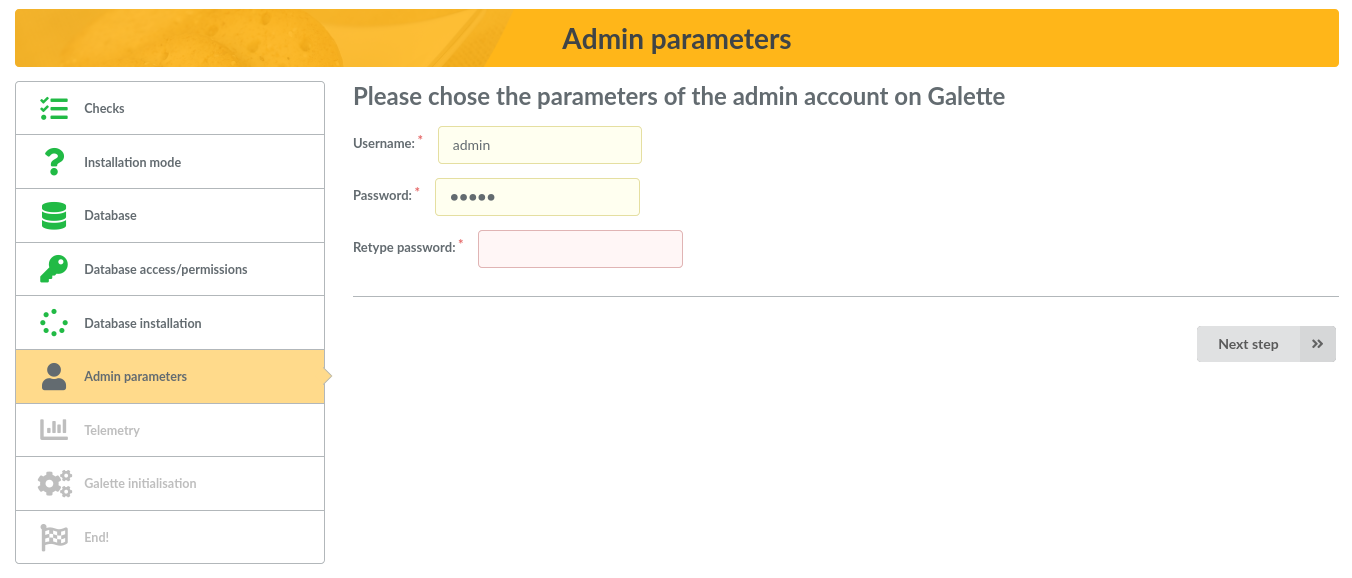
Admin parameters
Note
This screen is displayed from installation only. When updating, super admin user is already existing.
Next screen will ask you for information to create the Galette super admin user. Using Galette, you can set some members as administrators, but the one created at installation time is not a member, cannot be removed, and has some extra rights.
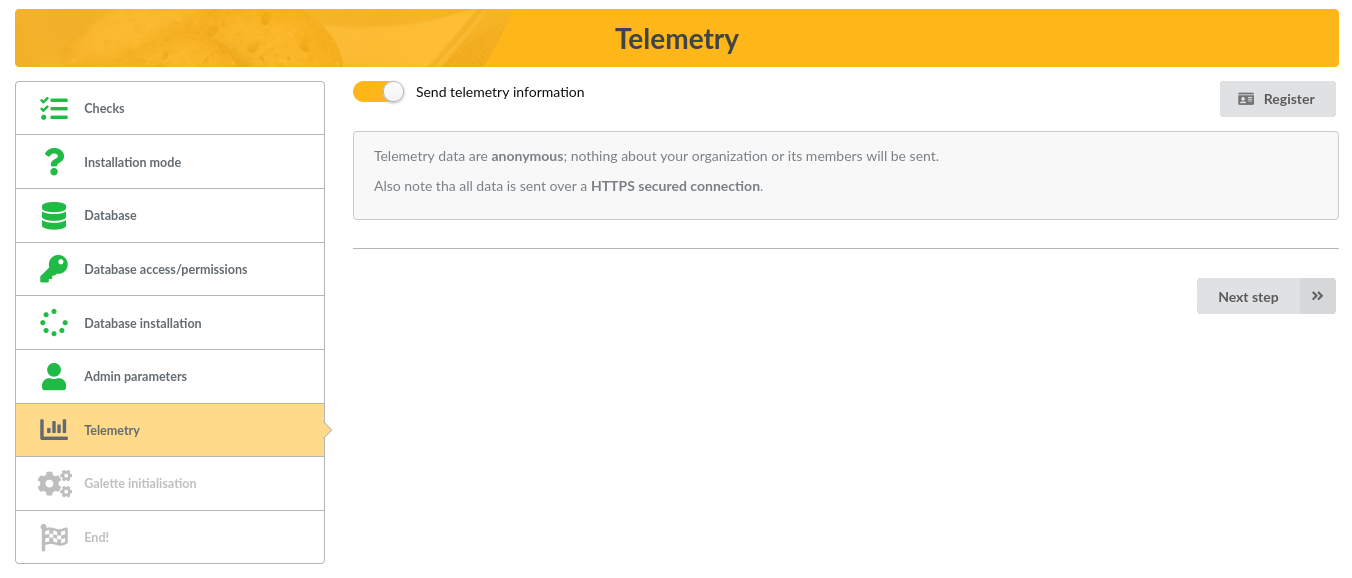
Telemetry
To know more about Galette installed instances, we try to collect anonymous telemetry data. You can also register as a Galette user :)
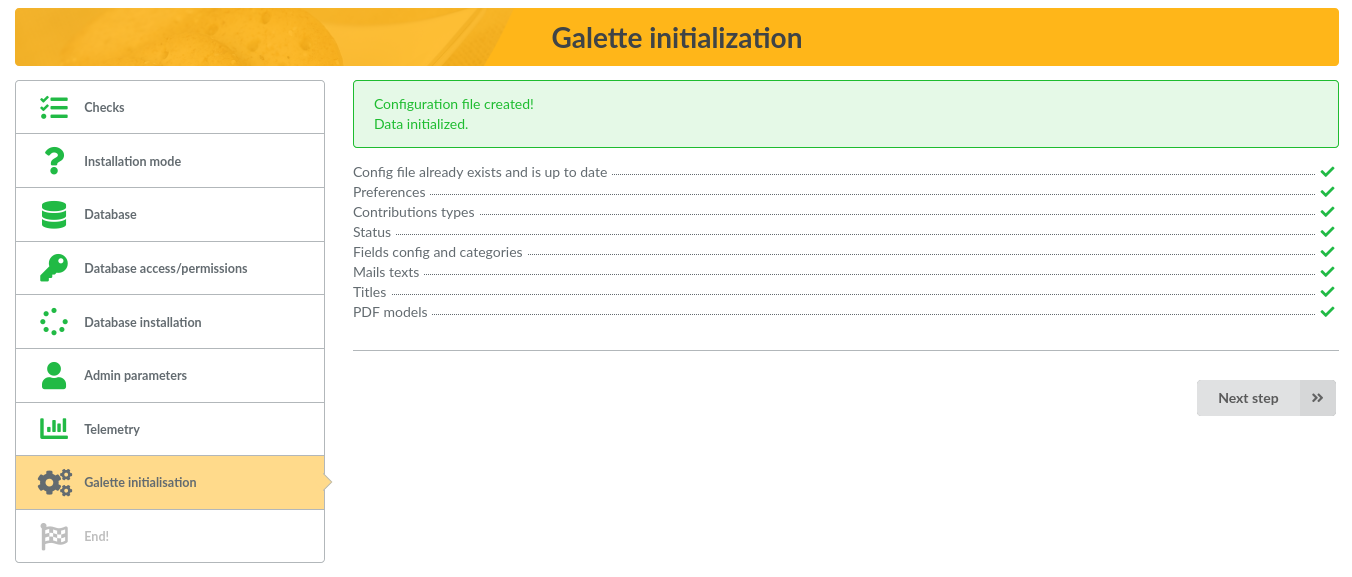
Initialize
The last step will write the configuration file if needed, and initialyse some values in your fresh database, as exemple:
add Galette default preferences
add default contributions and status types,
fields configuration and permissions,
texts for administrative emails,
members default titles,
default PDF models
…
When updating, only the missing preferences and the new default data if any will be handled.
Installation end
Installation is now finished, congratulations!
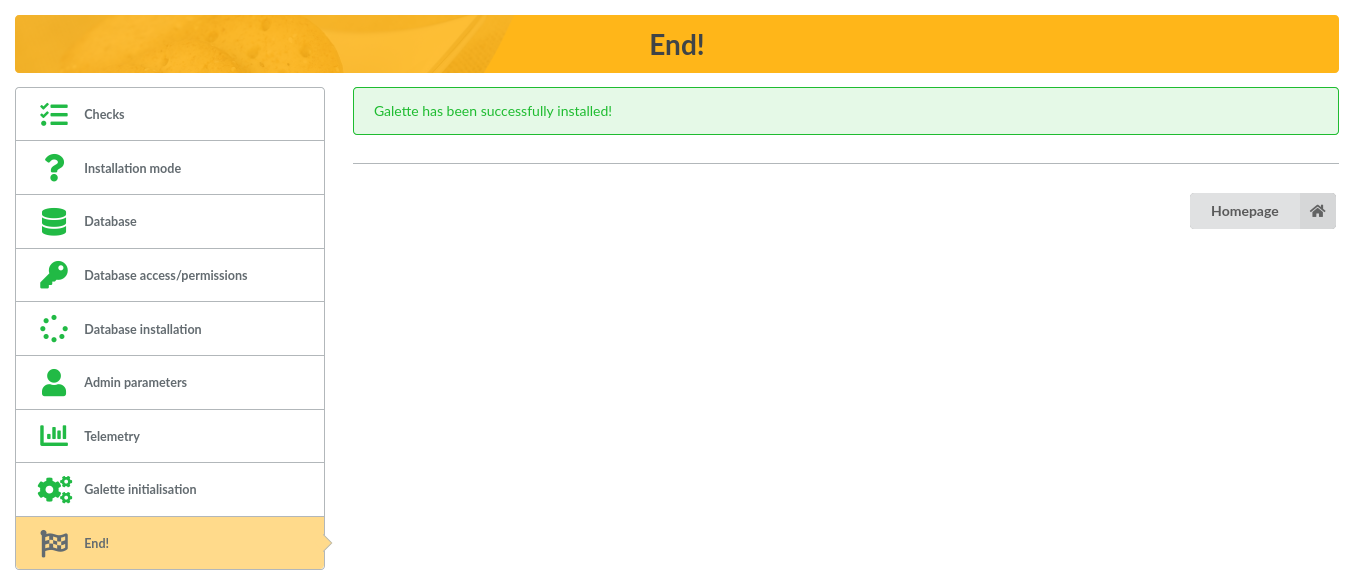
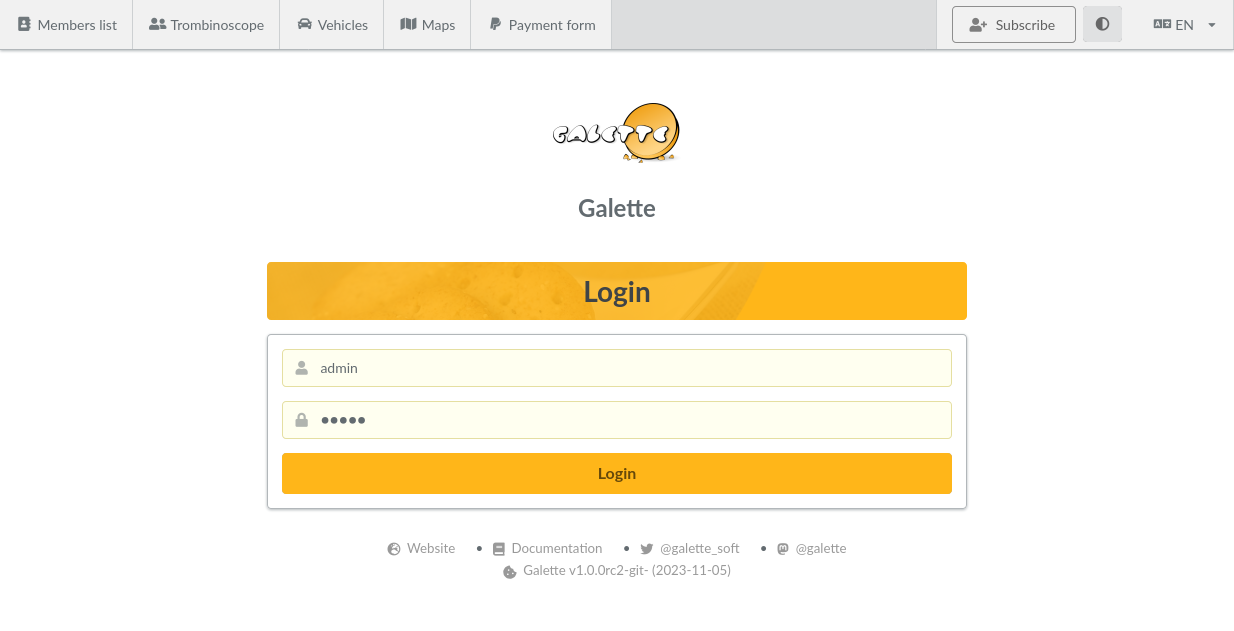
You can now login to Galette, using super admin information you used at installation time. You can now go to the Galette user manual.
Happy Galette!